
Daikin Air Conditioner Control Panel Instructions: A Comprehensive Guide
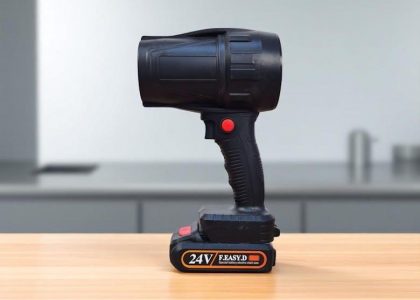
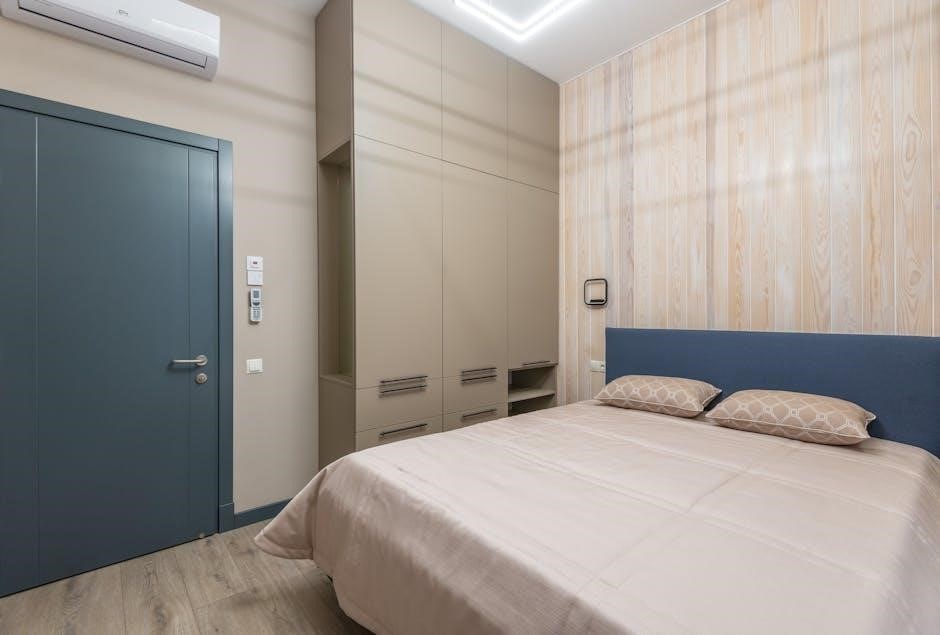
Daikin air conditioners boast sophisticated designs, including compact units and intuitive control panels. Many models, like the Emura FTXG-L, feature pre-installed Wi-Fi for internet control via a dedicated mobile application.
Understanding Your Daikin Control Panel
Daikin air conditioner control panels are the central hub for managing your indoor climate, offering a range of functionalities tailored to different models. These panels aren’t simply on/off switches; they provide precise control over temperature, fan speed, operating modes, and advanced features like timers and Wi-Fi connectivity.

Understanding the layout is key. Daikin often designs separate remote control models for each air conditioner line, meaning your remote might differ slightly from another Daikin unit. The display screen is a crucial element, providing real-time feedback on the current operating status – showing the set temperature, mode, and any active timers.
Modern Daikin units, particularly the Emura FTXG-L, integrate seamlessly with smart home systems. A pre-installed Wi-Fi module allows control via the internet, utilizing a well-designed mobile app. Even older models can be upgraded with a Wi-Fi module (WDA00001) to gain these smart features. Familiarizing yourself with your specific panel’s features will unlock the full potential of your Daikin air conditioning system.
Types of Daikin Control Panels
Daikin air conditioners utilize a variety of control panel types, primarily categorized by their connectivity and features. The most common is the standard infrared (IR) remote control, offering direct, line-of-sight operation. These remotes vary in design depending on the air conditioner model line; Daikin frequently launches unique remote models for each series.
Beyond standard remotes, Daikin offers centralized controllers for multi-split systems, allowing management of multiple indoor units from a single point. These controllers often feature wired connections for increased reliability and range.
Increasingly, Daikin integrates smart control options. Models like the Emura FTXG-L come equipped with a pre-installed Wi-Fi module, enabling control via a mobile app; For units lacking built-in Wi-Fi, the WDA00001 module provides a retrofit solution. This allows for internet-based control, scheduling, and monitoring. Ultimately, the type of control panel dictates the level of convenience and functionality available with your Daikin system.
Standard Remote Control Overview
The standard Daikin remote control serves as the primary interface for operating your air conditioning system. While designs differ slightly between model lines, core functionality remains consistent. Typically, the remote is a handheld device utilizing infrared (IR) technology to communicate with the indoor unit.
A prominent feature is the display screen, which provides crucial information regarding the current operating status – including set temperature, mode, fan speed, and timer settings. The layout generally includes a numerical keypad for direct temperature input, directional buttons for navigating menus, and dedicated buttons for power, mode selection, fan control, and timer functions.
The remote’s compactness and intuitive button arrangement are hallmarks of Daikin’s design philosophy. Understanding the placement and function of each button is key to effectively controlling your air conditioner. Proper battery installation and maintenance are also essential for reliable operation.
Button Functions: Basic Operation
The Power button, usually marked with a circle and a vertical line, initiates or terminates the air conditioning cycle. The Mode button cycles through available operating modes – Cooling, Heating, Auto, and Dry – each indicated by a corresponding icon on the display.
Temperature Up/Down buttons adjust the desired room temperature, displayed prominently on the screen. The Fan Speed button controls the airflow intensity, offering options like Auto, Low, Medium, and High. The Timer buttons are used to set delayed start or stop times for the unit.
Additional buttons may include Economy Mode for energy saving, and Powerful Mode for rapid cooling or heating. The Display button might control the brightness or information shown on the remote’s screen. Familiarizing yourself with these core functions allows for effortless control of your Daikin air conditioner, ensuring optimal comfort and efficiency.
Mode Selection: Cooling, Heating, Auto, Dry
Cooling Mode, represented by a snowflake icon, lowers the room temperature by actively removing heat. Heating Mode, indicated by a flame, warms the room by generating heat. Selecting the appropriate mode is crucial for comfort.
Auto Mode intelligently adjusts between cooling and heating to maintain a set temperature, offering convenience and energy efficiency. The unit automatically determines the optimal operation based on the current room temperature. Dry Mode, symbolized by a raindrop, reduces humidity without significantly altering the temperature, ideal for damp environments.
Switching between modes is typically done via the Mode button on the remote control. Each press cycles through the available options. Understanding these modes allows you to tailor the air conditioner’s operation to your specific needs, maximizing comfort and minimizing energy consumption with your Daikin unit.
Fan Speed Control
Daikin air conditioners offer multiple fan speed settings to customize airflow and comfort levels. Typically, these are controlled via a dedicated Fan Speed button on the remote control, often depicted with a fan icon. Common settings include Auto, Low, Medium, and High.
Auto mode automatically adjusts the fan speed based on the temperature difference between the setpoint and the room temperature, optimizing both comfort and energy efficiency. Low provides a gentle breeze, suitable for quiet operation and maintaining a consistent temperature. Medium offers a balanced airflow, while High delivers maximum cooling or heating power.
Some models may also include a Powerful mode, which temporarily boosts the fan speed for rapid temperature changes. Experimenting with different fan speeds allows you to find the perfect balance between airflow, noise level, and energy consumption, ensuring optimal comfort within your space using your Daikin system.
Temperature Adjustment
Daikin air conditioners allow precise temperature control via the Temperature Adjustment buttons on the remote. These are usually indicated by up and down arrow symbols. Pressing the Up arrow increases the set temperature, while the Down arrow decreases it. The current set temperature is prominently displayed on the remote control’s screen and the indoor unit’s display.
Temperature can typically be set within a range of 16°C to 30°C (61°F to 86°F), though this may vary slightly depending on the specific Daikin model. Fine-tuning the temperature allows you to achieve your desired comfort level efficiently. Remember that smaller temperature adjustments can significantly impact energy consumption.
Utilizing the Auto mode alongside temperature adjustment can optimize comfort and efficiency. The system will then maintain the set temperature automatically, adjusting fan speed and compressor output as needed. Regularly adjusting the temperature based on occupancy and external conditions ensures optimal performance.
Timer Settings: On/Off Timers
Daikin air conditioners offer convenient On/Off Timer functionality, allowing you to schedule operation for enhanced comfort and energy savings. Access these settings through the remote control, typically using a “Timer” button. You can set a timer to automatically turn the unit On at a specific time, ensuring a comfortable environment upon your arrival.
Conversely, the Off Timer allows you to schedule the unit to turn Off automatically, preventing unnecessary operation while you sleep or are away. Programming both timers provides a fully automated schedule. The remote’s display will show the currently set timer parameters, allowing for easy verification.
Some Daikin models support multiple timer settings, enabling complex schedules. Refer to your specific model’s manual for detailed instructions on programming and managing timers. Utilizing timers effectively can significantly reduce energy consumption and improve overall convenience, especially when combined with Wi-Fi control via the Daikin mobile app.
Using the Display Screen
The Daikin air conditioner’s display screen provides crucial information regarding its current operating status. It clearly indicates the set temperature, operating mode (Cooling, Heating, Auto, Dry), and fan speed. Many models also display indoor unit temperature and any active timer settings. The screen’s purpose is to help users understand the unit’s function at a glance.
More advanced Daikin units, like the Emura FTXG-L, feature sophisticated displays showing detailed information, including error codes when issues arise. These codes are essential for troubleshooting and can guide you or a technician towards a solution. The display also confirms successful Wi-Fi connectivity when using the mobile app for remote control.
Understanding the icons and symbols on the display is key to effective operation. Refer to your user manual for a complete explanation of all displayed elements. A well-maintained display ensures clear visibility and accurate information, contributing to a seamless user experience.
Error Codes and Troubleshooting
Daikin air conditioners utilize error codes displayed on the unit’s screen to signal malfunctions. These codes are vital for diagnosing problems, ranging from minor issues to more serious concerns requiring professional attention. The display screen clearly presents these codes, allowing for quick identification.
Common issues indicated by error codes include sensor failures, refrigerant leaks, or problems with the compressor. Before contacting a technician, consult your user manual for a detailed explanation of each code and potential solutions. Simple fixes, like cleaning filters or checking power connections, might resolve the issue.
If the error persists, record the code and model number before contacting Daikin support or a qualified HVAC technician. Attempting self-repair without proper knowledge can void your warranty and potentially cause further damage. Prioritize safety and professional assistance for complex problems.
Wi-Fi Connectivity and Control
Many modern Daikin air conditioners, particularly the Emura FTXG-L series, come equipped with built-in Wi-Fi modules, offering convenient remote control capabilities. For models lacking integrated Wi-Fi, the WDA00001 module can be easily added, enabling smart home integration.

Connecting your Daikin unit to your home network allows control via the dedicated Daikin mobile app. This app, praised for its user-friendly design, provides features like remote on/off switching, temperature adjustment, mode selection, and fan speed control – all from your smartphone or tablet.
Setting up Wi-Fi connectivity typically involves downloading the app, creating an account, and following the on-screen instructions to pair your air conditioner. Once connected, you can manage your home climate from anywhere with an internet connection, enhancing comfort and energy efficiency.
Daikin Mobile App Features
The Daikin mobile app, designed for seamless control of your air conditioning system, offers a comprehensive suite of features. Beyond basic on/off functionality and temperature adjustments, users can monitor current operating status and effortlessly switch between Cooling, Heating, Auto, and Dry modes.
Fan speed is easily adjustable within the app, allowing for personalized airflow. Advanced features include setting customized schedules and timers for automated operation, optimizing energy usage and comfort. The app also provides access to specialized modes like Economy Mode and Powerful Mode, tailoring performance to specific needs.
Furthermore, the app displays helpful information, including error codes and troubleshooting tips, assisting users in resolving minor issues independently. Its intuitive interface and robust functionality make managing your Daikin air conditioner incredibly convenient, enhancing your overall experience.
Remote Control Compatibility
Daikin frequently releases distinct remote control models tailored to specific air conditioner lines. This means the remote included with one unit may not be universally compatible with all Daikin systems. Understanding this is crucial for ensuring full functionality and avoiding operational issues.
While some degree of compatibility may exist between certain models, it’s generally recommended to use the remote specifically designed for your air conditioner. Attempting to use an incorrect remote could result in limited feature access or complete inability to control the unit. For older units, or if a remote is lost, finding a replacement requires identifying the correct model number.
For air conditioners lacking built-in Wi-Fi, the standard remote is the primary control method. However, many Daikin systems can be upgraded with a WDA00001 Wi-Fi module, enabling control via the mobile app, offering an alternative to the physical remote.
Replacing Batteries in Your Remote
Maintaining your Daikin air conditioner remote control requires periodic battery replacement to ensure consistent operation. A common issue leading to control problems is simply depleted batteries. The standard Daikin remotes typically require two AAA or AA batteries, depending on the specific model – always check the battery compartment for the correct size.
To replace the batteries, locate the battery compartment, usually on the back of the remote. Gently slide or pop open the compartment cover. Remove the old batteries, noting the correct polarity (+ and -) indicated inside the compartment. Insert the new batteries, ensuring proper alignment.
After replacing the batteries, test the remote by attempting to power on or adjust settings on your Daikin air conditioner. If the remote still doesn’t function, double-check the battery polarity and ensure the batteries are fresh. Consider cleaning the battery contacts if corrosion is present.
Cleaning and Maintenance of the Control Panel
Regular cleaning of your Daikin air conditioner’s control panel – both the remote and the indoor unit display – is crucial for optimal performance and longevity. Dust and grime can accumulate, hindering button responsiveness and obscuring the display. For the remote, gently wipe the surface with a soft, dry cloth. Avoid using liquids or abrasive cleaners, as these can damage the buttons and screen.
For the indoor unit’s control panel, power off the air conditioner before cleaning. Use a slightly damp (not wet!) cloth to wipe the surface. Again, avoid harsh chemicals. A soft brush can be used to carefully remove dust from crevices around the buttons.
Pay particular attention to the display screen, ensuring it remains clear for easy readability. Consistent cleaning prevents buildup and maintains the aesthetic appearance of your Daikin system; Proper maintenance contributes to reliable operation and extends the life of your control components.
Advanced Features: Economy Mode, Powerful Mode
Daikin air conditioners often include advanced features accessible through the control panel, enhancing comfort and energy efficiency. Economy Mode intelligently adjusts cooling or heating output to minimize energy consumption while maintaining a comfortable temperature; This mode is ideal for prolonged use, reducing electricity bills without significant compromise.
Conversely, Powerful Mode provides a rapid boost in cooling or heating capacity. When activated, this mode delivers maximum airflow to quickly achieve the desired temperature – perfect for rapidly cooling a room after it’s been exposed to sunlight or heating a space that’s initially very cold.

These modes are typically selected via dedicated buttons on the remote control or through options on the indoor unit’s display. Utilizing these features allows users to tailor the air conditioner’s performance to their specific needs and preferences, optimizing both comfort and energy savings.
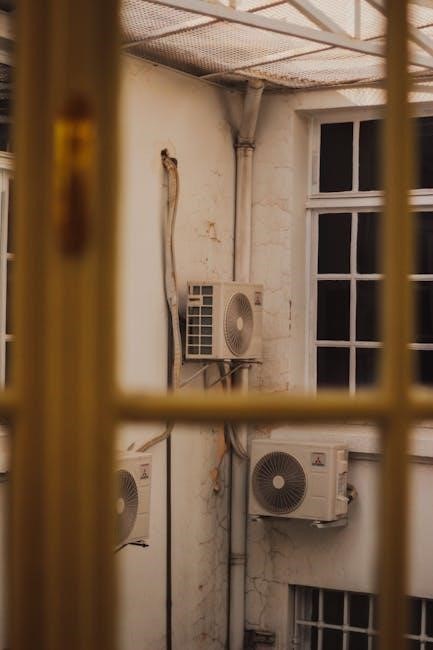
Understanding the Indoor Unit Display
The Daikin indoor unit display provides crucial information regarding the air conditioner’s operation and status. Typically, the display shows the set temperature, the current room temperature, and the selected operating mode – such as cooling, heating, or auto. It also indicates the fan speed setting and whether the timer function is active.
More advanced displays may show additional details, including the current energy consumption or specific error codes if a problem arises. The display screen helps users understand the current operating status of the unit at a glance, allowing for easy adjustments and monitoring.
Different Daikin models feature varying display designs and information presented. However, the core function remains consistent: to provide clear and concise feedback on the air conditioner’s performance. Refer to your specific model’s manual for a detailed explanation of all display indicators and their meanings.
Specific Model Variations (FTXG-L Emura)
The Daikin Emura FTXG-L air conditioner distinguishes itself with a sleek design and advanced features, impacting its control panel experience. Notably, this model comes equipped with a pre-installed Wi-Fi module, enabling seamless control via the Daikin mobile app. This allows users to adjust settings remotely, monitor energy usage, and schedule operations from anywhere with an internet connection.
The remote control included with the FTXG-L often features a more streamlined layout compared to standard models, prioritizing ease of use. The indoor unit display is also more sophisticated, providing detailed information about the unit’s status and operation.
Furthermore, the Emura series benefits from Daikin’s well-designed mobile application, offering a user-friendly interface for comprehensive control. Understanding these specific features is key to maximizing the benefits of the FTXG-L model.
Resetting the Control Panel
While not a frequent requirement, resetting the Daikin air conditioner control panel can resolve minor operational glitches or restore default settings. The process varies slightly depending on the model, but generally involves a combination of button presses on the remote control or directly on the indoor unit.
For many models, holding the “Off” and “Mode” buttons simultaneously for a specified duration (typically 5-10 seconds) initiates a reset. The indoor unit display may briefly flash or show a confirmation message. It’s crucial to consult your specific model’s manual for precise instructions, as incorrect procedures could disrupt functionality.
A reset will typically clear any customized timer settings, fan speed preferences, or personalized configurations. Following a reset, you’ll need to re-establish your desired settings. If issues persist after resetting, it’s recommended to contact Daikin support or a qualified technician for further assistance.