
Manual transfer case shifting allows drivers to switch between 2WD and 4WD modes, essential for varying terrain. Understanding this process ensures proper vehicle control and prevents mechanical damage.
1;1 Importance of Understanding Transfer Case Operation
Understanding transfer case operation is crucial for safe and effective driving. It prevents damage to the drivetrain and ensures optimal performance in various conditions. Knowing when to shift between 2WD and 4WD modes, such as 2H, 4H, or 4L, is essential for maintaining control and avoiding mechanical stress. Improper shifting can lead to costly repairs or loss of traction, especially in off-road scenarios. Familiarity with the transfer case’s functionality also enhances safety, as it allows drivers to adapt to changing terrain and weather conditions. Additionally, manual shifting requires specific procedures, such as stopping and neutralizing the vehicle before engaging low gear, to avoid potential damage. By grasping these principles, drivers can maximize their vehicle’s capabilities while minimizing risks.
1.2 Brief Overview of 2WD and 4WD Modes
Understanding the basics of 2WD and 4WD modes is essential for effective vehicle control. In 2WD mode, power is sent to either the front or rear wheels, optimizing fuel efficiency and performance on paved roads. This mode is ideal for normal driving conditions where traction is not a concern. In contrast, 4WD mode distributes power to all four wheels, enhancing traction and stability in challenging environments like off-road terrain or slippery surfaces. Modern vehicles often feature automatic or manual switching between these modes, allowing drivers to adapt to varying conditions. Recognizing when to engage each mode is crucial for both performance and safety, especially when manually managing the transfer case.
Understanding Transfer Case Modes
Transfer case modes manage power distribution between wheels. 2H sends power to two wheels for efficiency, while 4H and 4L engage four wheels for traction, with 4L offering lower gearing for challenging terrains.
2.1 Explanation of 2H, 4H, and 4L Modes

The transfer case offers three primary modes: 2H, 4H, and 4L. In 2H (two-wheel drive high), power is sent to the rear wheels, ideal for normal driving conditions on paved surfaces. This mode provides better fuel efficiency and is suitable for everyday use. The 4H (four-wheel drive high) mode engages all four wheels, offering increased traction for slippery or uneven terrain, such as gravel or light snow, while maintaining a higher gear ratio for better speed. The 4L (four-wheel drive low) mode also engages all four wheels but uses a lower gear ratio, delivering maximum torque for extreme off-road conditions, such as steep inclines or heavy towing. Understanding these modes is crucial for selecting the correct setup based on driving conditions;
2.2 Differences Between High and Low Gear in Transfer Cases
The transfer case operates with two primary gear ratios: high and low. High gear, often used in 2H or 4H modes, provides a 1:1 gear ratio, allowing for higher speeds and better fuel efficiency. It is ideal for driving on paved roads or light off-road conditions where maximum torque is not required. Low gear, typically engaged in 4L mode, offers a reduced gear ratio (e.g., 2.72:1 or 4:1), delivering increased torque for low-speed, high-stress situations like rock crawling or towing heavy loads. The key difference lies in torque output and speed capability, with high gear favoring speed and low gear prioritizing torque. Proper selection based on driving conditions ensures optimal performance and prevents mechanical stress on the transfer case.

Safety Precautions and Preparation
Always wear protective gear, ensure the vehicle is stationary, and apply the parking brake. Verify surroundings for safety, and consult the manual for specific instructions before starting.
3.1 Essential Safety Measures Before Starting
Before manually shifting the transfer case to 2WD, ensure the vehicle is stationary on level ground. Engage the parking brake and place the transmission in neutral. Always wear protective gloves and eyewear. Disconnect the battery to prevent accidental startups. Check the surrounding area for hazards or bystanders. Use jack stands for added stability if lifting the vehicle. Refer to the vehicle’s manual for specific safety guidelines. Never attempt this process near open flames or sparks, as transfer case fluids can be flammable. Ensure proper ventilation and avoid shortcuts to prevent damage or injury. Be aware of local regulations and environmental considerations when working with automotive components.
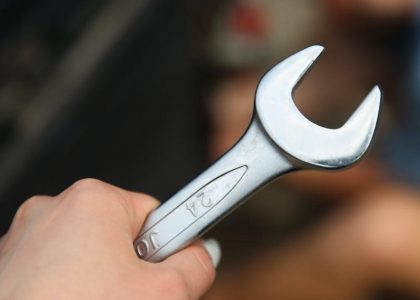
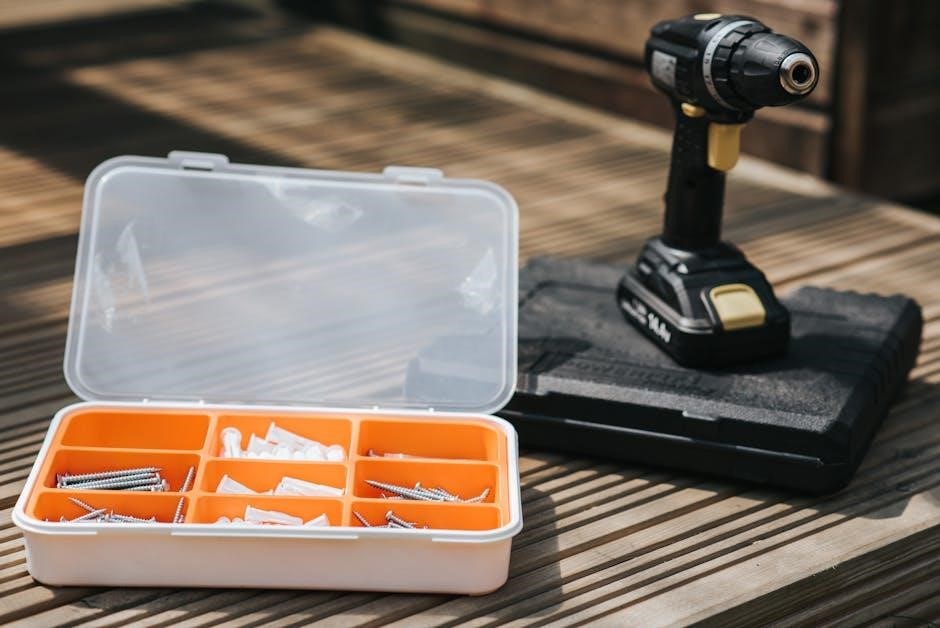
3.2 Tools and Materials Needed for Manual Shifting
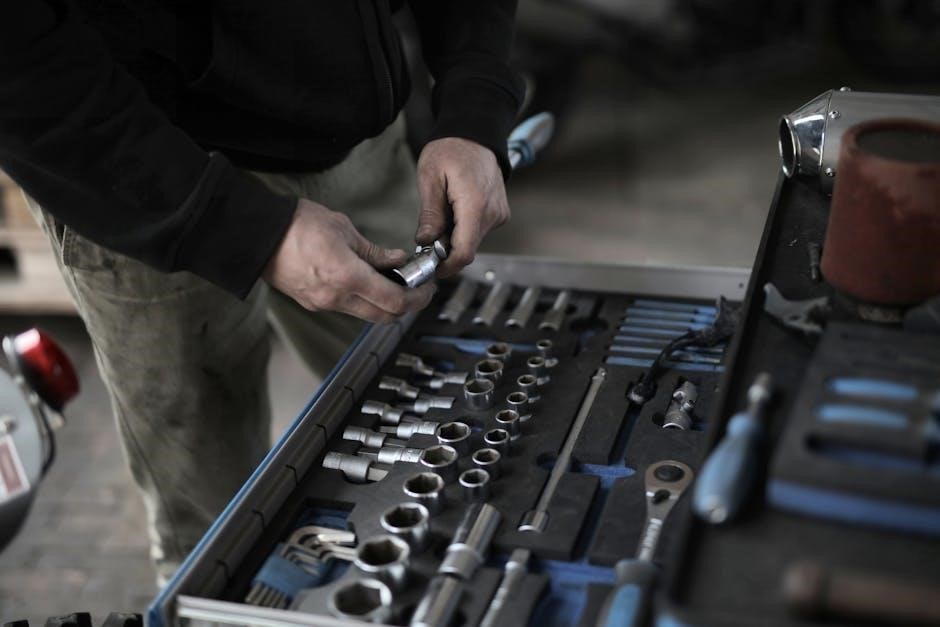
To manually shift the transfer case to 2WD, gather essential tools and materials. A socket set or wrench set, including sizes compatible with your vehicle’s bolts, is necessary. A torque wrench ensures proper tightening specifications. A drain pan is recommended to catch any fluid leakage. Protective gloves and goggles are critical for safety. Consult your vehicle’s manual for specific part locations and torque values. Penetrating oil may be needed if bolts are rusted or stuck. A jack and jack stands are required for lifting the vehicle safely. Additional materials like rags and a cleaner can assist in keeping the area tidy. Having a spare tire and tire iron nearby is also advisable in case of unexpected issues. Always ensure all tools are in good condition before starting the process.

Step-by-Step Process for Manual Shifting
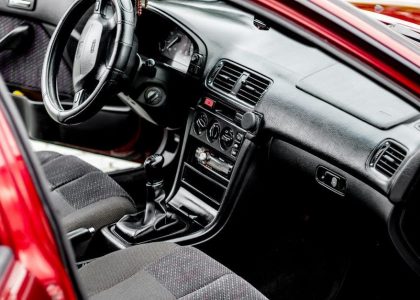
Stop the vehicle safely, ensure it’s in neutral, and engage the parking brake. Locate the transfer case lever, typically on the floor console. Move the lever to the 2H position for two-wheel drive. Start the engine and confirm the shift via dashboard indicators. Avoid shifting while moving to prevent drivetrain damage.
4.1 How to Stop the Vehicle Safely
To stop the vehicle safely before manual shifting, find a flat and stable surface, away from traffic. Slow down gradually using the brakes, and avoid sudden stops. Downshift to a lower gear if necessary to maintain control. Once stopped, engage the parking brake firmly to ensure the vehicle doesn’t move. Shift the transmission into neutral to disconnect the engine from the drivetrain. Turn off the engine or keep it idling on a level surface. Ensure all wheels are pointed straight ahead and check your surroundings for safety. Avoid stopping on inclines or uneven ground, as this could complicate the shifting process. Properly securing the vehicle is crucial before proceeding with manual transfer case shifting to 2WD mode.
4.2 Engaging Neutral Gear
Engaging neutral gear is a critical step before manually shifting the transfer case to 2WD. After safely stopping the vehicle, locate the gearshift or transfer case selector. For manual transmissions, ensure the clutch is fully pressed before shifting. For automatic transmissions, move the selector to the “N” position. Confirm neutral engagement by checking the dashboard indicator or feeling no resistance from the pedals. Neutral gear disconnects the engine from the drivetrain, allowing the transfer case to shift without resistance. Never attempt to shift the transfer case while in gear, as this could cause damage or loss of control. Once neutral is confirmed, proceed with caution to the next step in the manual shifting process.
4.3 Locating and Accessing the Transfer Case
To manually shift the transfer case to 2WD, you must first locate and access the transfer case. Typically found beneath the vehicle, near the driveshaft and transmission, the transfer case is secured to the chassis. Raise the vehicle using a jack or lift to gain access, ensuring it is stable with jack stands. Wear protective gear, including gloves and safety glasses, to prevent injury. Once under the vehicle, identify the transfer case by its distinctive shape and location between the transmission and rear axle. Use a socket wrench or appropriate tool to access the transfer case’s shifting mechanism. Be cautious of moving parts and hot components. Proper access is essential for a successful manual shift. Always refer to your vehicle’s manual for specific instructions and safety guidelines.
4.4 Manual Shifting Techniques
Once access to the transfer case is gained, use the appropriate tool to engage the manual shifting mechanism. For most vehicles, this involves turning a dial or moving a lever located on the transfer case. Begin by disengaging the current mode, such as 4H or 4L, and align the shift mechanism with the 2WD position. Apply gentle yet firm pressure to avoid damaging the internal components; If resistance is felt, stop and ensure the vehicle is in neutral and the parking brake is engaged. Once the shift is complete, confirm the transfer case is fully engaged in 2WD by checking for smooth operation in low-speed testing. Avoid forcing the shift, as this can cause damage. Always refer to the vehicle’s manual for specific shifting techniques and recommendations. Proper technique ensures a smooth transition and prevents mechanical stress on the system.
4.5 Completing the Shift to 2WD
After manually shifting the transfer case, ensure the shift is fully engaged by listening for a distinct click or feeling a slight resistance. Verify the lever or dial is securely in the 2WD position. Start the vehicle and test it in a controlled, low-speed environment to confirm smooth operation. Check for proper acceleration and lack of binding, which indicates successful engagement. Once confirmed, turn off the ignition and double-check the transfer case position to avoid unintended mode changes. Always avoid sudden acceleration immediately after shifting, as this can strain the system. For long-term reliability, ensure the vehicle is operated correctly in 2WD mode. If any issues arise, consult the vehicle’s manual or a professional mechanic for assistance. Proper completion ensures safe and efficient operation of the transfer case in 2WD mode.

Common Issues and Solutions
- Difficulty engaging 2WD mode may indicate a faulty shift mechanism or misalignment.
- Strange noises during shifting could signal worn gears or low fluid levels.
- Incomplete shifts might require adjusting the transfer case linkage or replacing damaged components.
5.1 Diagnosing Transfer Case Problems
Diagnosing transfer case issues is crucial before attempting manual shifting to 2WD. Common problems include worn gears, low fluid levels, or misaligned components. Start by inspecting the transfer case for visible damage or leaks. Listen for unusual noises, such as grinding or clunking, which may indicate internal damage. Check the fluid level and condition, as dirty or insufficient fluid can hinder proper operation. If the transfer case refuses to engage, it could be due to electrical faults or a faulty shift motor. Always consult the vehicle’s service manual for specific diagnostic steps, as procedures may vary by make and model. Proper diagnosis ensures safe and effective manual shifting, preventing further damage to the system. Addressing issues early can save time and money in the long run.
5.2 Troubleshooting Common Shifting Issues
When manually shifting the transfer case to 2WD, common issues may arise. Grinding noises during shifting often indicate worn synchronizers or incorrect engagement. Difficulty engaging gears could stem from low fluid levels or improper shifting technique. If the transfer case refuses to shift, check for obstructions or worn components. Leaks in the system can also hinder proper operation, so inspect seals and gaskets regularly. In some cases, the vehicle may get stuck in neutral, requiring careful manipulation of the shift lever. Always ensure the vehicle is stationary and apply the parking brake before attempting repairs. Addressing these issues promptly can prevent further damage. Regular maintenance, such as fluid checks and component inspections, helps minimize shifting problems. If issues persist, consult a professional mechanic or the vehicle’s service manual for guidance.

Preventive Maintenance and Care
Regular fluid checks, inspecting seals, cleaning, and lubricating the transfer case ensure smooth operation. Proper maintenance prevents wear, reduces contamination, and extends lifespan.
6.1 Regular Maintenance for Transfer Case Longevity
Regular maintenance is crucial to ensure the transfer case operates efficiently and lasts longer. Start with periodic fluid checks, as low or degraded fluid can cause mechanical failure. Inspect the transfer case seals and gaskets for wear or leaks, replacing them promptly if necessary. Clean the transfer case regularly to remove dirt and debris that may interfere with its function. Lubricate the gears and linkages according to the manufacturer’s recommendations to reduce friction and wear. Additionally, check the owner’s manual for specific service intervals and guidelines tailored to your vehicle. By adhering to these maintenance routines, you can prevent premature wear, ensure smooth shifting, and maintain optimal performance when manually switching to 2WD mode.
6.2 Tips for Avoiding Future Shifting Problems
To prevent issues when manually shifting the transfer case to 2WD, adopt proactive habits. Always ensure the vehicle is stationary and on level ground before shifting to avoid mechanical stress. Avoid sudden or forceful shifts, as this can damage the transfer case or its components. Regularly inspect the shift linkage for loose connections or wear, addressing these issues promptly. Keep the transfer case free from debris and contaminants, as dirt can impede smooth operation. Monitor the vehicle’s load; excessive weight can strain the system. Lastly, familiarize yourself with the manufacturer’s guidelines for shifting procedures to avoid misuse. By following these tips, you can minimize the risk of shifting problems and ensure reliable performance when switching to 2WD mode.

Special Considerations for Specific Vehicles
Certain vehicles may require unique procedures for manual shifting, such as electronic controls or specific manufacturer recommendations. Always consult the owner’s manual for tailored instructions.
7.1 Vehicle-Specific Manual Shifting Procedures

Manual shifting procedures vary by vehicle manufacturer and model. Some vehicles, like Toyota 4Runners, require pressing a button on the transfer case shifter, while others, such as Jeep Wranglers, use a physical lever. Ford Broncos may need a combination of electronic controls and manual shifting. Always consult the owner’s manual for precise steps, as incorrect methods can damage the transfer case. For example, some systems may require disengaging the rear differential before shifting, while others need the vehicle to be in neutral. Understanding these nuances ensures smooth operation and prevents mechanical stress. Additionally, certain models may have specific torque or speed limits during shifting. Adhering to manufacturer guidelines is essential for maintaining the vehicle’s performance and warranty. Proper technique varies, so research your vehicle’s exact requirements before attempting manual shifting.
7.2 Adapter Kits and Conversion Options
Adapter kits and conversion options are essential for vehicles requiring custom transfer case solutions. These kits enable compatibility between different drivetrain components, ensuring smooth operation during manual shifting. Conversion options, such as aftermarket transfer case adapters, can enhance functionality for specific driving conditions. For instance, off-road enthusiasts often use conversion kits to optimize gear ratios for low-speed crawling or high-speed highway driving. Materials like heavy-duty steel ensure durability under stress. Proper installation is critical, as misalignment can lead to mechanical failure. Always follow manufacturer instructions and torque specifications when fitting adapter kits. Additionally, some conversions may require recalibrating the vehicle’s electronic systems for proper 2WD or 4WD engagement. Professional installation is recommended for complex setups to avoid damage and ensure optimal performance. These solutions cater to unique needs, making manual shifting more efficient and reliable for various driving scenarios.
Manually shifting the transfer case to 2WD requires attention to safety and proper technique. Following the outlined steps ensures proper smooth operation and prevents potential damage.
8.1 Summary of Key Steps and Best Practices
To manually shift the transfer case to 2WD, start by stopping the vehicle safely and engaging neutral gear. Locate and access the transfer case, ensuring proper tools are available. Use the manual shifting technique to disengage 4WD and transition smoothly to 2WD. Double-check the shift to confirm completion. Regular maintenance, like fluid checks and cleaning, ensures longevity. Always consult the vehicle’s manual for specific instructions. Avoid sudden shifts and ensure the vehicle is stationary during the process. Proper technique and adherence to safety guidelines are critical to prevent damage and ensure reliable performance. By following these steps and best practices, you can efficiently and safely manually shift the transfer case to 2WD mode.
8.2 Importance of Proper Technique and Safety
Proper technique and safety are paramount when manually shifting the transfer case to 2WD. Improper methods can lead to damage to the transfer case, drivetrain, or other components, resulting in costly repairs. Always ensure the vehicle is stationary and in neutral before attempting to shift, as moving during the process can cause loss of control. Use the correct tools and follow the manufacturer’s guidelines to avoid stripping gears or causing mechanical stress. Never force the shift, as this can lead to permanent damage. Additionally, always check your surroundings to ensure safety while working under or near the vehicle. Proper technique ensures a smooth transition, prevents wear and tear, and maintains the system’s longevity. Prioritizing safety and precision guarantees a successful and incident-free manual shifting process.