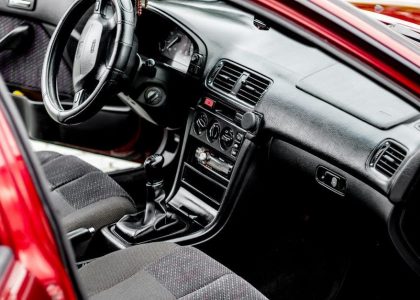
Converting a 240SX from automatic to manual is a popular modification for enthusiasts seeking enhanced driving engagement and performance. This guide provides a comprehensive overview of the process.
1.1. Benefits of Converting to Manual Transmission
Converting your 240SX to a manual transmission offers enhanced control and driving engagement. Manual transmissions typically provide better fuel efficiency and improved acceleration. Additionally, they often require less maintenance and can be more durable in the long run. Drivers also experience a more connected and rewarding driving experience, making it ideal for enthusiasts seeking performance and precision. This swap is a cost-effective way to upgrade your vehicle’s capabilities while enhancing overall drivetrain functionality and enjoyment.
1.2. Overview of the Swap Process
Converting a 240SX from automatic to manual involves replacing the transmission, clutch, and related components. The process requires careful planning, as it includes removing the automatic transmission, installing a manual gearbox, and integrating essential parts like the driveshaft and clutch pedal. Compatibility checks are crucial to ensure smooth operation. While the swap is complex, it offers significant performance improvements and a more engaging driving experience. Proper execution demands attention to detail and mechanical expertise to achieve optimal results.
Preparation and Planning
Success in a 240SX auto-to-manual swap requires detailed planning, budgeting, and gathering tools and parts. Research ensures compatibility and smooth execution of the conversion process.
2.1. Budgeting for the Swap
Budgeting for a 240SX auto-to-manual swap is essential to avoid overspending. Costs typically range from $200 to $500 for parts like a manual transmission, driveshaft, clutch kit, and mounts. Tools such as a torque wrench, socket set, and jack are also necessary. Labor costs can add $300-$500 if hiring a mechanic. Researching used or refurbished parts can help reduce expenses. Plan for additional fees for fluids, gaskets, and potential modifications, ensuring a realistic budget for a smooth conversion process.
2.2. Gathering Tools and Resources
Gathering the right tools and resources is crucial for a successful swap. Essential tools include a socket set, torque wrench, floor jack, and fluid catch pans. A Phillips screwdriver and wrench set are also necessary. Ensure you have a service manual (FSM) for detailed instructions. Online forums, YouTube videos, and community support are valuable resources. Many enthusiasts recommend consulting guides from websites like NicoClub or TuningBlog for specific part lists and troubleshooting tips to ensure a smooth process.
2.3. Researching Compatible Parts
Researching compatible parts is essential for a smooth swap. Key components include a manual transmission, clutch kit, driveshaft, and transmission harness. Ensure compatibility with your car’s specifications, such as S13 or S14 models. The KA24DE engine pairs well with the 240SX 5-speed manual transmission. Consult forums, guides, and suppliers like Enjuku for detailed part lists. Verify year-specific variations and ensure all parts are compatible to avoid installation issues. Proper research prevents costly mistakes and ensures a successful conversion.
Essential Parts and Components Needed
The swap requires a manual transmission, driveshaft, clutch kit, flywheel, transmission mounts, harness, and pedal assembly. These components ensure compatibility and proper functionality for the conversion.
3.1. Manual Transmission Options
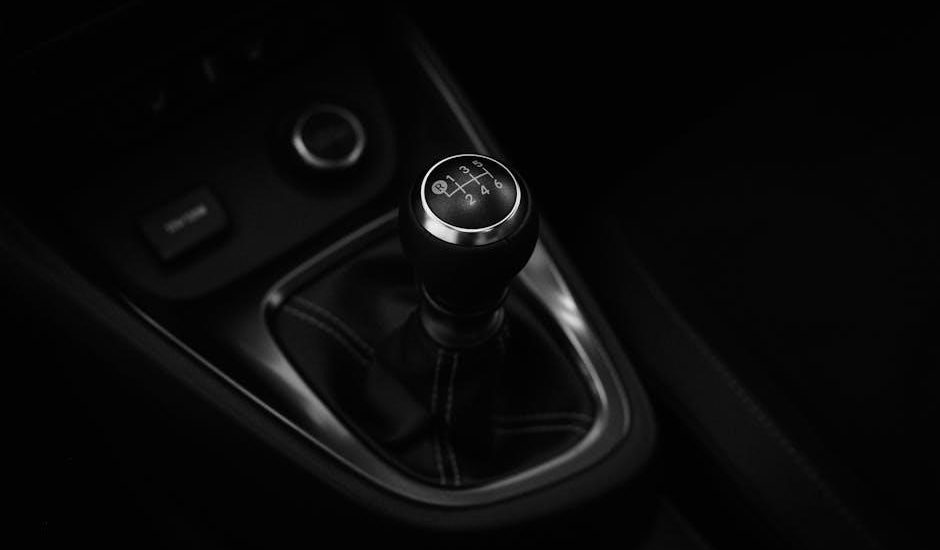
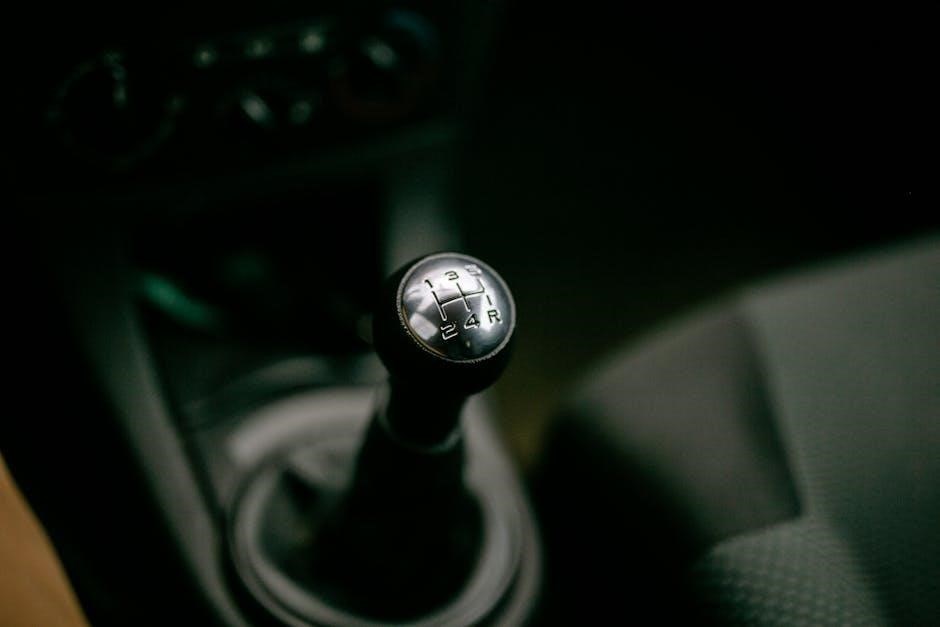
Choosing the right manual transmission is crucial for a successful swap. The Nissan 240SX 5-speed manual is a popular choice, offering seamless compatibility with KA24DE engines. Alternatively, enthusiasts can opt for a Tremec T56, known for its durability and performance; It’s important to ensure the transmission matches the car’s year and engine specifications. Additionally, sourcing a transmission with a compatible shifter location simplifies installation, avoiding costly modifications. Proper research ensures the best fit for your vehicle and driving goals.
3.2. Clutch and Flywheel Kit
A clutch and flywheel kit is essential for a manual swap, as the automatic transmission does not include these components. The flywheel must be replaced with a manual-compatible unit, and a new clutch kit must be installed to ensure proper engagement. Additionally, the pilot bushing must be replaced to accommodate the manual transmission input shaft. High-performance clutch kits are recommended for durability and smooth operation. Always consult a specialist to ensure proper fitting and alignment during installation.
3.3. Driveshaft and Transmission Mounts
The driveshaft must be replaced or modified to fit the manual transmission, as the automatic driveshaft is typically incompatible. Transmission mounts are also essential for securing the new manual transmission properly. Ensure the mounts are compatible with both the transmission and chassis to prevent vibration and misalignment. Proper installation of these components is critical for smooth operation and longevity of the drivetrain. Always consult a specialist to verify compatibility and ensure a precise fit.
3.4. Transmission Harness and Wiring
The transmission harness and wiring require modification to ensure compatibility with the manual transmission. The automatic transmission harness must be repinned to work with the manual setup. Keep the speed sensor and specific wires from the automatic harness, as they are essential for proper function. Ensure all connections are secure and properly routed to avoid electrical issues. Correct wiring is crucial for accurate gear position sensing and smooth operation of the manual transmission system. Consult a wiring diagram or specialist for precise modifications.

Step-by-Step Swap Process
Remove the automatic transmission, install the manual unit, and configure essential components like the driveshaft, clutch, and pedal assembly. Follow detailed steps for a smooth conversion.
4.1. Removing the Automatic Transmission
Start by disconnecting the battery and draining the transmission fluid. Remove the driveshaft and any electrical connectors attached to the automatic unit. Next, detach the transmission mounts and brackets, taking care to support the transmission with a jack. Finally, carefully lift the automatic transmission out of the chassis. Ensure all components, such as the torque converter and pilot bushing, are removed to prepare for the manual transmission installation.
4.2. Installing the Manual Transmission
Position the manual transmission into the chassis, ensuring proper alignment with the engine. Secure it using the provided mounts and brackets. Reattach the driveshaft, making sure it is properly seated and balanced. Connect the clutch master cylinder and slave cylinder to the transmission. Finally, reinstall the shifter assembly and linkages, ensuring smooth operation. Double-check all connections and tighten all bolts to the recommended torque specifications for a secure and reliable installation.
4.3. Clutch and Pedal Assembly Installation
Install the clutch kit, including the disc, pressure plate, and bearing, onto the flywheel. Mount the clutch master cylinder to the firewall and connect it to the slave cylinder. Attach the clutch pedal assembly inside the car, ensuring proper alignment with the master cylinder. Connect the hydraulic lines and bleed the system to remove air bubbles. Test the clutch pedal for smooth operation and adjust the clutch cable or linkage as needed for proper engagement and disengagement.
4.4. Driveshaft and Mounting Bracket Setup
Replace the automatic driveshaft with a compatible manual transmission driveshaft, ensuring proper length and spline count. Install the transmission mount and bracket to secure the manual transmission; Align the driveshaft with the transmission and differential, ensuring proper balance to avoid vibration. Reinstall the center support bearing if equipped. Tighten all bolts and connections securely. Double-check the driveshaft alignment and mounting hardware for safety and optimal performance during operation.
4.5. Final Connections and Adjustments
Connect the clutch slave cylinder to the transmission and ensure the shifter linkage is properly aligned. Bleed the clutch system to remove air bubbles for smooth engagement. Adjust the clutch pedal and gear shifter for optimal feel and clearance. Verify all electrical connections, such as the reverse light switch and speed sensor, are securely attached. Double-check the driveshaft and mounting bracket for tightness and alignment. Perform a test drive to ensure proper functionality and make any necessary adjustments.
Post-Swap Considerations
After completing the swap, ensure proper clutch function, check for leaks, and test the transmission thoroughly. Adjustments may be needed for optimal performance and reliability.
5.1. Bleeding the Clutch System
Bleeding the clutch system is crucial after a manual swap to remove air bubbles, ensuring smooth pedal feel and consistent engagement. Use a pressure bleeder or manual pump to force brake fluid through the system. Start from the slave cylinder and work backward toward the master cylinder. Repeat until fluid flows freely without bubbles. Proper bleeding ensures precise control and prevents spongy or unresponsive clutch operation.
5.2. Testing the Manual Transmission
After completing the swap, test the manual transmission in a controlled environment. Start by shifting through all gears to ensure smooth operation. Accelerate gradually, checking for proper engagement and disengagement of the clutch. Listen for unusual noises that may indicate issues. Pay attention to the clutch pedal’s feel and responsiveness. This step ensures the transmission, clutch, and drivetrain function harmoniously, providing a seamless driving experience. Proper testing is essential for identifying and addressing any potential problems early on.
5.3; Inspecting for Leaks and Proper Function
A thorough inspection is essential after the swap to ensure everything functions correctly. Check the clutch master and slave cylinders, transmission pan, and driveshaft for any signs of leaks. Inspect all hydraulic connections and hoses for damage or wear. Verify that the transmission mounts are securely fastened and the driveshaft is properly aligned. This step helps identify and address any issues before they become major problems, ensuring a smooth and reliable driving experience.

Common Mistakes and Troubleshooting
Common mistakes include incompatible parts, improper clutch installation, and wiring issues. Troubleshooting involves checking connections, fluid levels, and alignment to ensure proper functionality and avoid costly repairs.
6.1. Incompatible Parts and Solutions
Incompatible parts can halt progress. The automatic transmission’s driveshaft, transmission mount, and wiring harness often don’t align with manual components. The driveshaft may be too short or have incorrect splines. Similarly, the automatic pedal assembly won’t work with the manual setup. Solutions include sourcing a compatible driveshaft, manual-specific transmission mounts, and rewiring for clutch functionality. Ensure all components are verified for compatibility to avoid costly delays and ensure smooth operation post-swap.
6.2. Common Issues During Installation
Common issues during installation include improper transmission alignment, incorrect pilot bushing installation, and wiring harness incompatibilities. Misalignment can cause shifting difficulties, while a wrong pilot bushing may lead to vibrations or noise. Wiring issues often arise when repurposing the automatic harness for manual use. Additionally, driveshaft length discrepancies can prevent proper installation. Addressing these challenges requires careful measurement, precise alignment, and thorough wiring checks to ensure smooth operation and prevent costly rework.
6.3. Troubleshooting the Clutch System
Troubleshooting the clutch system after a 240SX auto-to-manual swap involves addressing common issues like improper engagement or disengagement. Air in the hydraulic lines or a malfunctioning master/slave cylinder can cause spongy pedal feel. Ensure proper bleeding and check for fluid leaks. Misalignment of the clutch or flywheel can lead to uneven engagement, requiring realignment. Noise issues, such as chatter, may indicate a worn pilot bearing or incorrect clutch installation. Always verify compatibility of components and ensure correct installation to resolve these problems effectively.

Maintenance and Upkeep After the Swap
Regular maintenance is crucial for smooth operation. Check clutch engagement, transmission fluid levels, and inspect driveshaft alignment. Ensure proper clutch pedal adjustment and verify compatibility of components for longevity;
7.1. Regular Checks and Fluid Changes
Regular maintenance is essential for optimal performance. Check the clutch system for proper engagement and adjust the pedal as needed. Inspect the transmission fluid level and top it off with synthetic fluid if necessary. Ensure the driveshaft is aligned correctly and free from damage. Lubricate the shifter and linkage periodically. Inspect the clutch master and slave cylinders for leaks. Replace the transmission fluid every 30,000 miles to maintain smooth gear shifts and prevent wear.
7.2. Adjusting the Clutch and Gearbox
Regularly adjust the clutch pedal height and free play to ensure smooth engagement. Lubricate the gearshift and linkage for seamless shifting. Inspect the gearbox mounts and tighten if necessary. Check the transmission fluid level and top it off with the recommended synthetic oil. Ensure the clutch master and slave cylinders are functioning properly. Adjust the driveshaft alignment to prevent vibration. These adjustments ensure optimal performance and longevity of the manual transmission system;
7.3. Preventative Measures for Longevity
Regular maintenance is key to extending the life of your manual transmission. Inspect the clutch and gearbox for wear, and replace worn components promptly. Ensure proper alignment of the driveshaft to prevent vibration damage. Keep the transmission fluid clean by changing it every 30,000 to 60,000 miles. Avoid aggressive driving habits that strain the clutch and gearbox. Store the vehicle in a dry, cool place to prevent rust and corrosion. These measures ensure your manual transmission system remains reliable and durable for years to come.
Completing the 240SX auto-to-manual swap is a rewarding experience, enhancing performance and driver engagement. Follow detailed guides, plan carefully, and enjoy the improved driving experience.
8;1. Summary of the Swap Process
The 240SX auto-to-manual swap involves replacing the automatic transmission with a manual setup, including a new transmission, clutch, flywheel, driveshaft, and harness. Key steps include removing the automatic transmission, installing the manual unit, and connecting components like the driveshaft and wiring. Proper planning, budgeting, and tools are essential for success. The process typically takes 8-12 hours and requires mechanical expertise. While challenging, the swap offers improved performance and a more engaging driving experience for enthusiasts.
8.2. Tips for Future Modifications
After completing the manual swap, consider upgrading to a limited-slip differential and performance tires for improved handling. Lightweight components, such as an aluminum driveshaft, can further enhance performance. Installing a stainless steel exhaust system and tuning the engine with a standalone ECU can maximize power gains. Additionally, upgrading the suspension and brakes will complement the manual transmission, offering a more refined driving experience. These modifications will help unlock the full potential of your 240SX.
Additional Resources and Guides
Visit websites like Nicoclub and Enjuku Racing for detailed guides, parts, and tutorials. Join forums and communities for real-world advice and support. Check out YouTube for visual guides and expert tips.
9.1. Recommended Websites and Forums
For detailed guides and support, visit Nicoclub and Enjuku Racing. These websites offer comprehensive tutorials, parts lists, and troubleshooting tips. Additionally, forums like Reddit’s r/240sx and Nissan 240SX Facebook groups provide real-world advice. YouTube channels like Ninja Performance and 240SX Garage offer step-by-step videos. These resources are invaluable for ensuring a smooth swap process and addressing common challenges. They also connect you with a community of enthusiasts who can share their experiences and solutions.
9.2. Suggested Tools and Suppliers
Essential tools for the swap include a torque wrench, socket set, floor jack, and dial indicator. Suppliers like Enjuku Racing and TuningBlog.eu offer conversion kits and parts. For specific components, Nissan Parts and RockAuto are reliable sources. Specialty tools, such as a pilot bearing installer, can be found at Harbor Freight or AutoZone. These suppliers ensure you have everything needed for a successful swap, with many offering guides and support from experienced enthusiasts.
9.3. Community Support and Workshops
The 240SX community offers extensive support through online forums, social media groups, and local workshops. Websites like Nicoclub and TuningBlog.eu provide detailed guides and troubleshooting tips. YouTube channels and Facebook groups dedicated to the 240SX often share step-by-step tutorials and personal experiences. Local car meetups and workshops can also offer hands-on assistance. These resources ensure enthusiasts have access to expert advice and real-world insights to tackle the swap confidently and successfully.